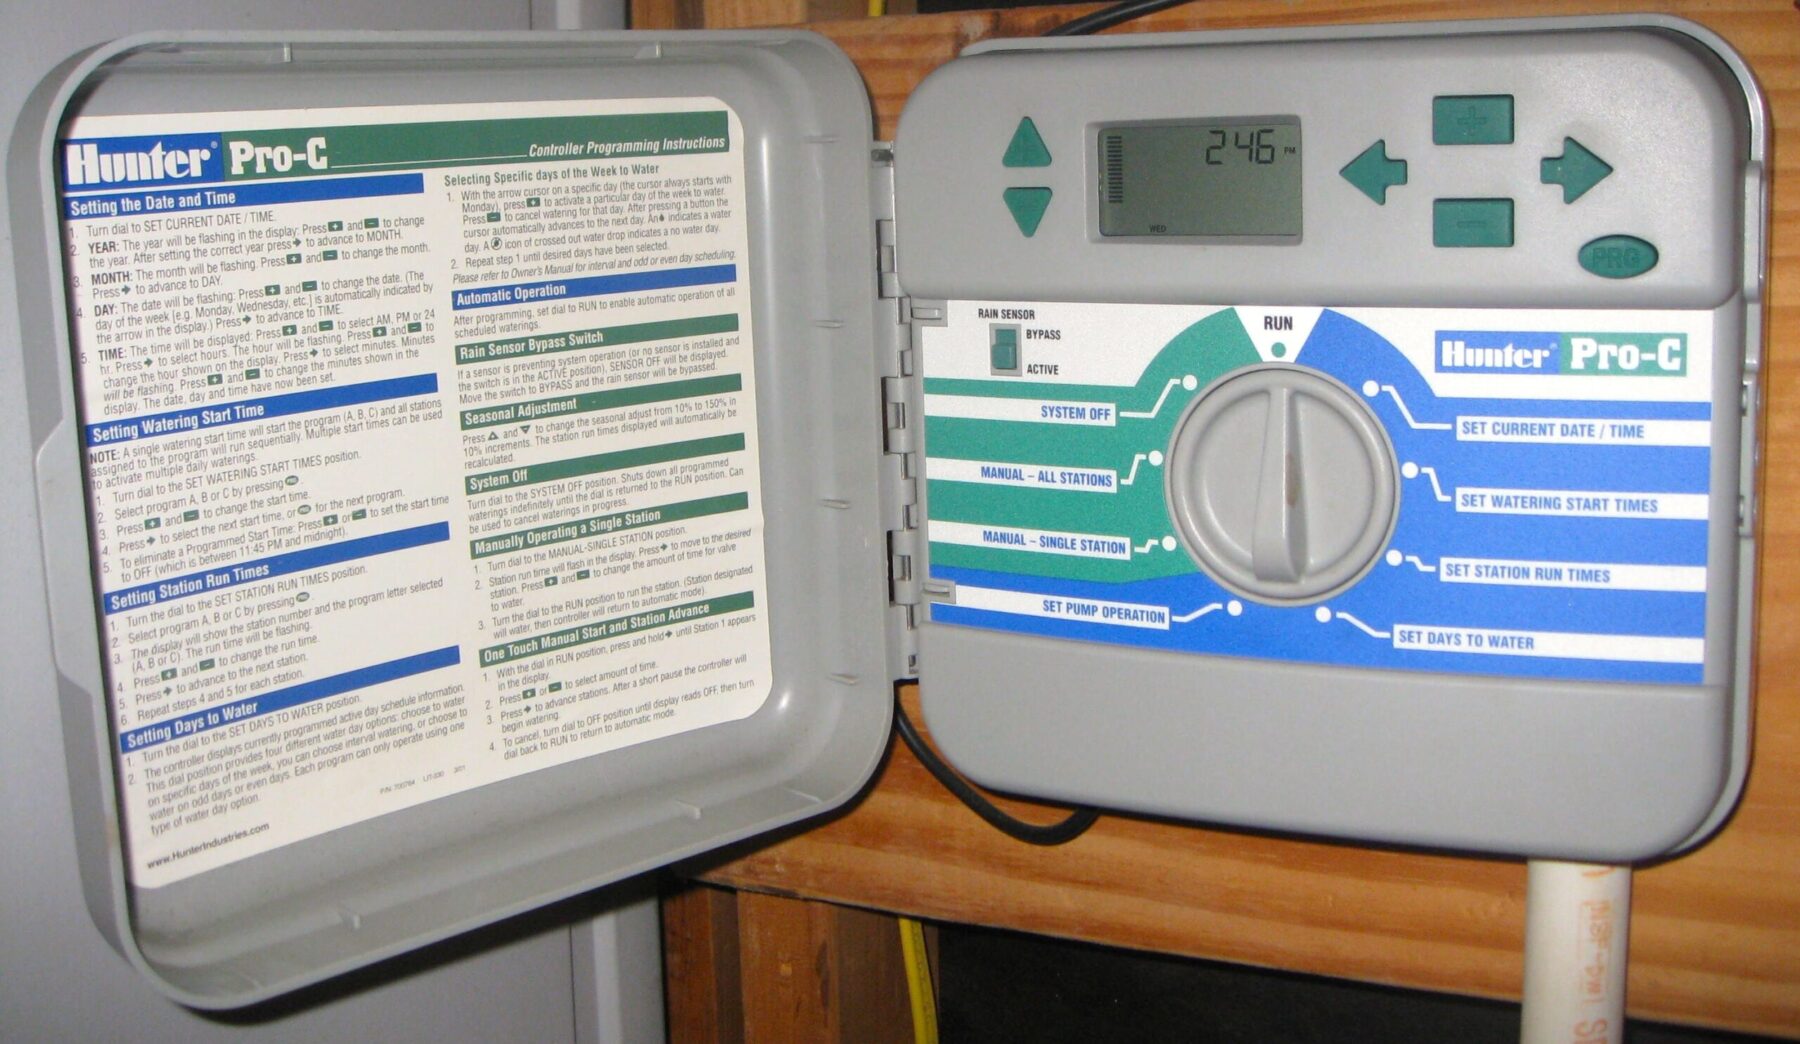
This is one of those projects I’ve wanted to do for a while and finally all the pieces are coming together. I hated the user interface on my home sprinkler system. Despite an engineering degree and a P.E. license, the Hunter Pro-C controller in my garage regularly humiliated me with both under and over watered grass. How hard could it be to make a timer that opens and closes relays that has an intuitive interface? And I had a Raspberry Pi with plenty of computing power and a network connection just waiting for a purpose in life. So that was the germ of the project, use my Rasberry Pi to present a web UI and put my sprinkler valves on my home network.
But like all truly great engineering projects, it ran over budget, behind schedule, and had massive feature creep.
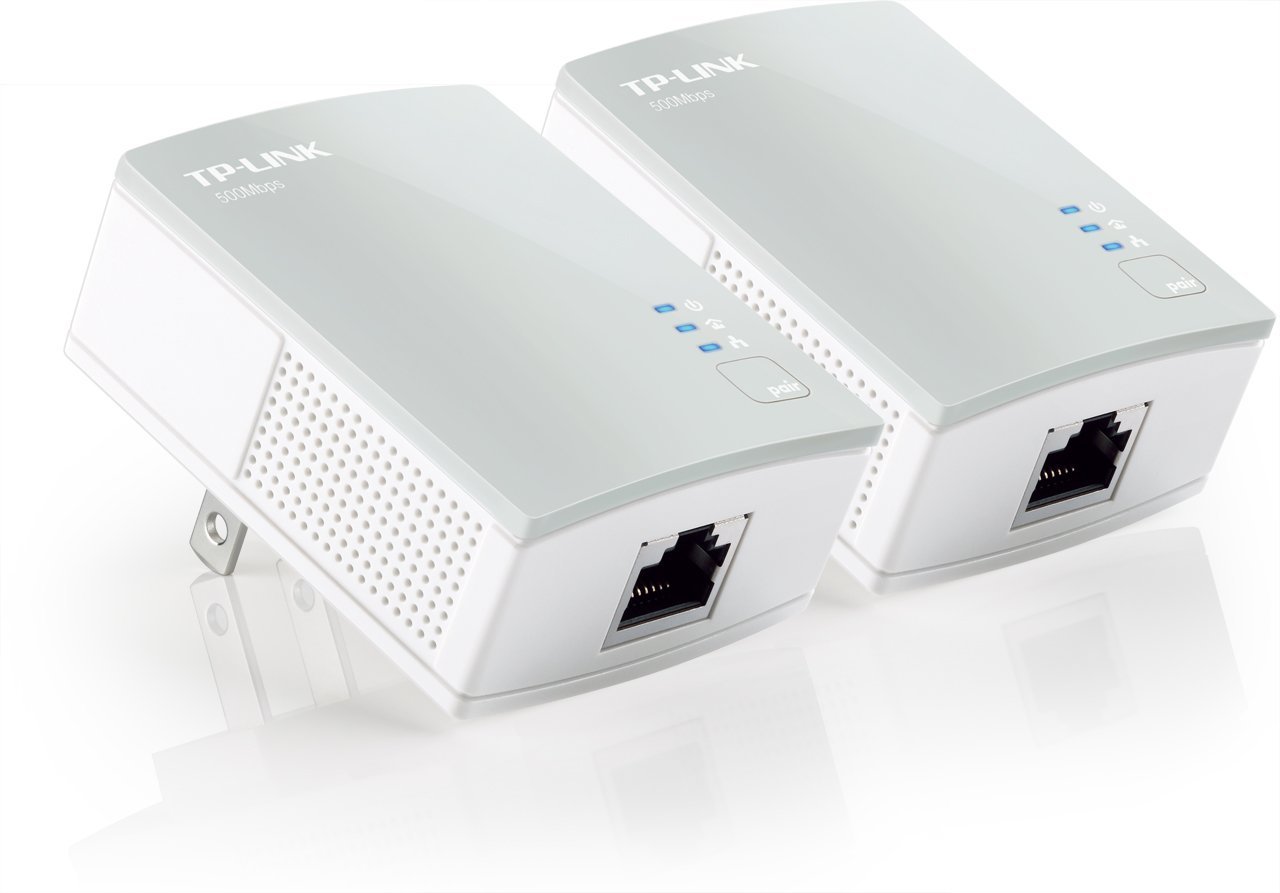
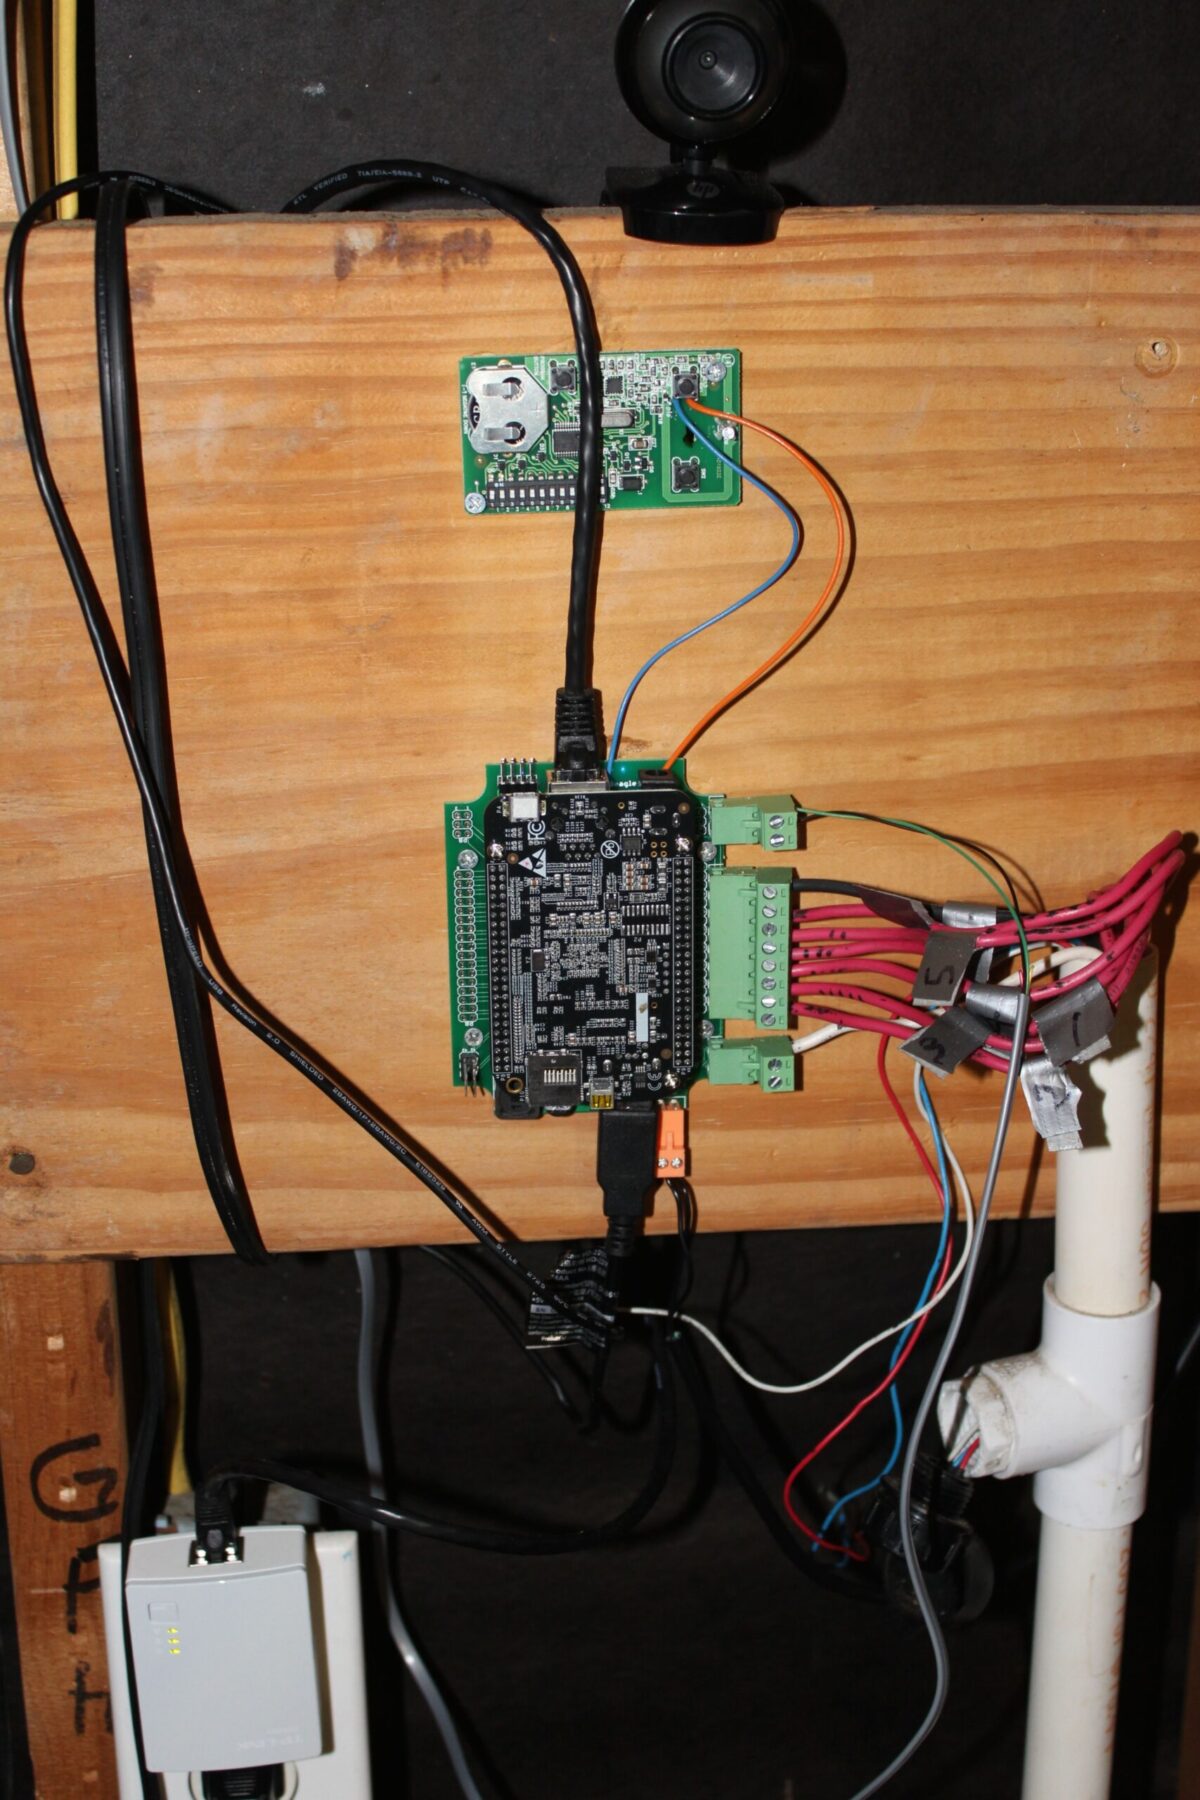
Actually it was delivering results on schedule for my paying day job that consumed a lot of bandwidth and made it was hard to peel away hours to figure out how I was going to do this. But procrastination paid off in this case: A customer paid for a quick and dirty one off project involving the excellent Beagle Bone Black. And I then I stumbled across the “Osbo“, an add on board for the Beagle Bone Black that can control up to 8 sprinkler zones and adds a DS1307 battery backed real time clock for maintaining schedule across power cycles. All I needed was a network link to my garage. Wifi was too weak in my garage so I got ahold of a pair of TP-Link Powerline Ethernet adapters model TP-PL4010 that are very highly rated on Amazon.
So this worked very well but there wasn’t much innovation here, I was just snapping together bits and pieces of hardware and software created by others to get my sprinkler system on my network and talking to my home automation platform. The next step was to leverage USB port of the BBB to put a cheap webcam on the network that my Zoneminder server could access. I was planning on using the excellent mjpg-streamer software package that had worked so well on my OpenWrt systems. Since Debian lacked this package for this platform, Google quickly located a great tutorial. I got a cheap UVC compatible USB camera from Fry’s for less than $10 and I was in business.
The camera server portion was pretty straightforward:
- Buy a camera that is UVC compatible (List). See FAQ if unsure about your webcam (or just plug it into a Linux desktop and try to use it).
- Build the mjpg-streamer source on the beagle-bone per the tutorial.
- Make a startup script:
export LD_LIBRARY_PATH=/usr/local/lib

/usr/local/bin/mjpg_streamer -b -i "input_uvc.so -d /dev/video0 -r 1290x720 --fps 10" -o "output_http.so -p xxxx"
I’m having trouble making my startup script run at boot but it works fine called post boot. Of course change xxxx to port of your choice.
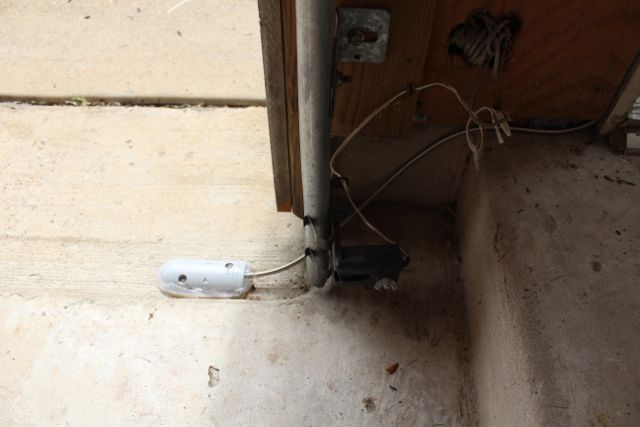
I want to be able to know the position of the door so I can close it if I forget or have a script command it to an absolute position. The electronics to do this are pretty simple, I bought a simple magnetic reed switch from amazon for this purpose.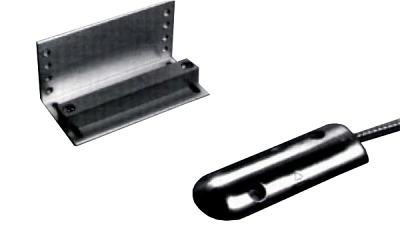 Installation was pretty straightforward, the magnet is mounted to the door so that the wired part does not have to move. In order to get alignment correct, I used generous portions of RTV to secure the wired portion to the garage floor. Then while the RTV was still not set, I closed the garage door allowing the magnet to push down on the sensor. This meant the sensor would be well aligned in close proximity to the magnet without any painstaking alignment on my part.
Now all that is left is the code to glue the new sensor and actuator into my Home Automation system. Stay tuned for part 2.